Add DNS record
Firstly, we need ceate a host(DNS recore) for our container vpnproxy
Login https://ipa-ja-1.example.com
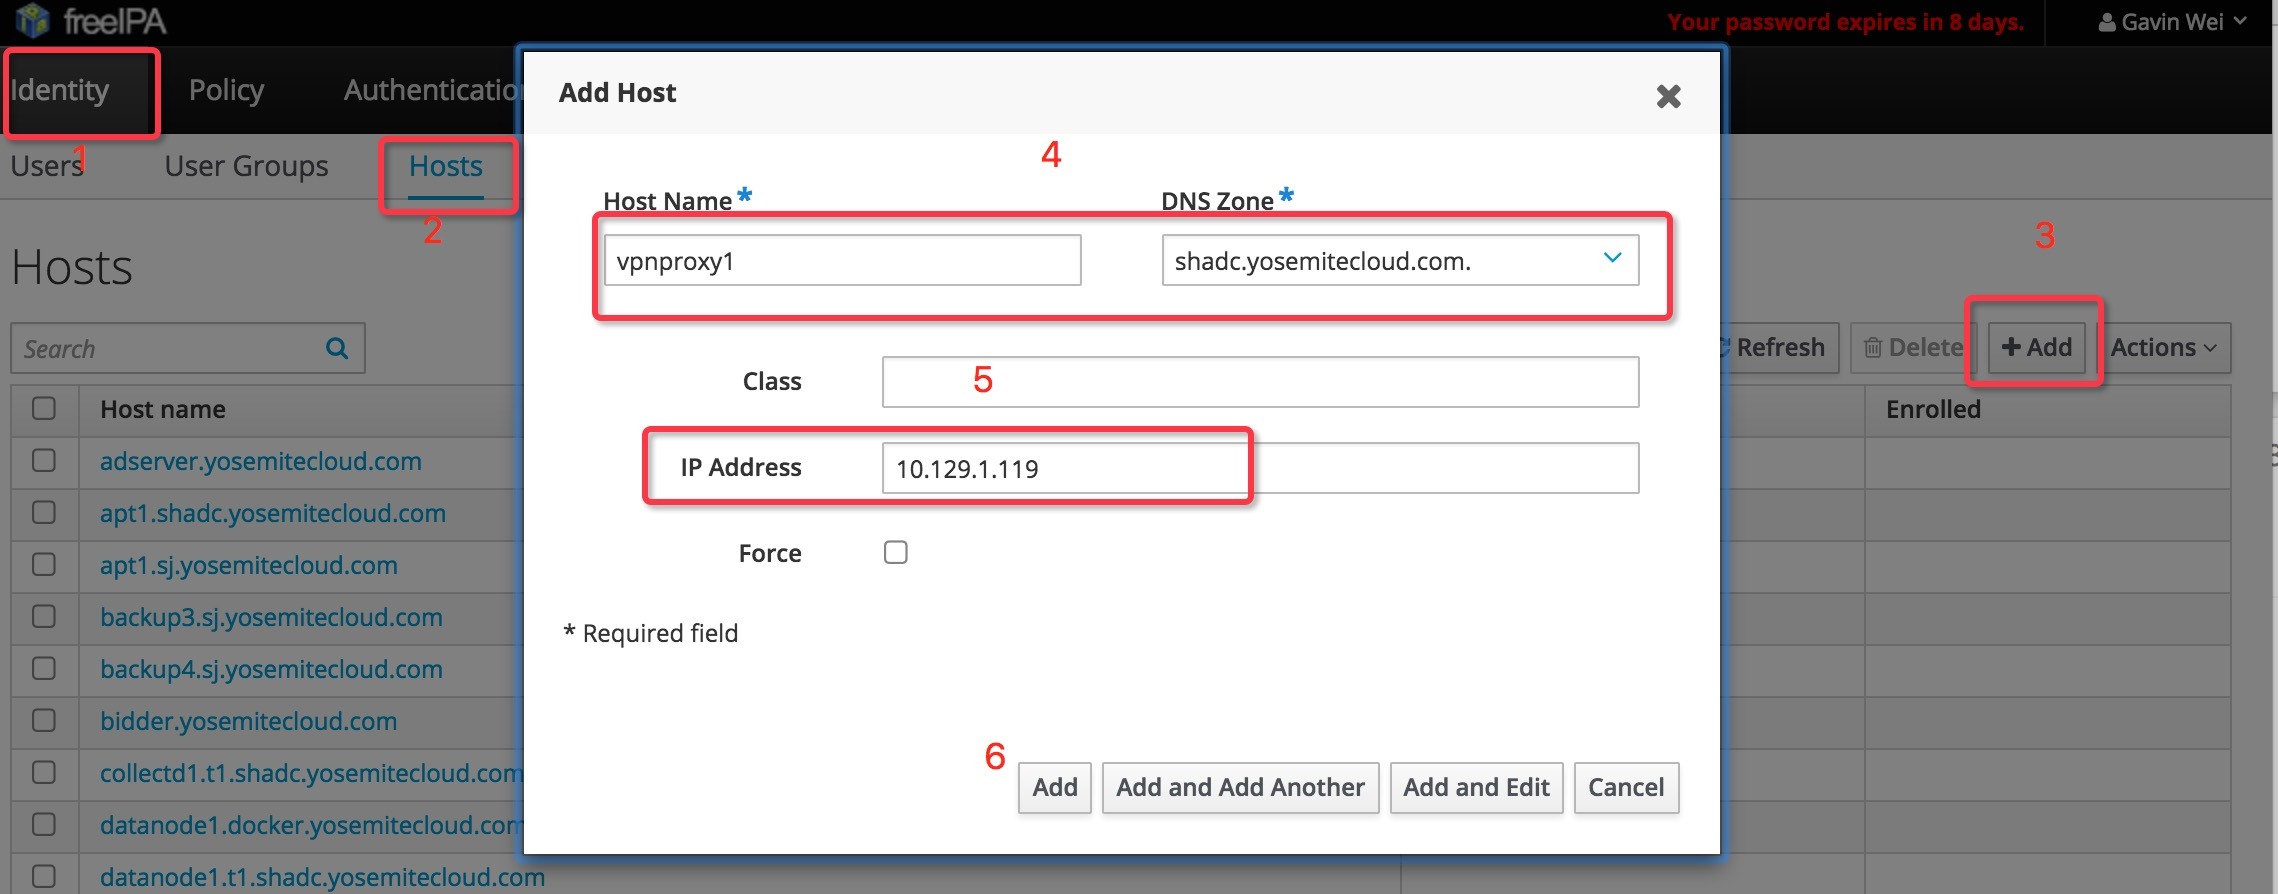
add a host as the following picture shows:
Identity –> Hosts –> Add :
By now, we’ve created a DNS recore, map vpnproxy1.shadc.example.com to IP 10.129.1.119
Configure in devop/deploy
We are going to deploy the container on host 10.129.0.29, so we need to modify the file ip-10-129-0-29.shadc.example.com.yaml, this yaml file includes all the containers on 10.129.0.29:
This file is located in ~/devops/deploy/puppet/hieradata/node/shadc/
Add these lines to it:
1 | vpnproxy.1: |
In this case, we only need “”ensure” option here.
At last, the project devops/deploy should be committed.
Jenkins Operation
clone Jinkins cfg codes
1 | cd ~ |
1 | cd ~/jenkinscfg/cfg/docker/sys |
Add these lines to the end, they are used by Jenkins:
1 | vpnproxy: |
Get the commander jenkins-generate.py:cat ~/jenkinscfg/README.md./jenkins-generate.py --user USER --cfgfile cfg/common/common.yaml --host https://jenkins.example.com/
Change the ‘USER’ and path of yaml:
1 | cd ~/jenkinscfg |
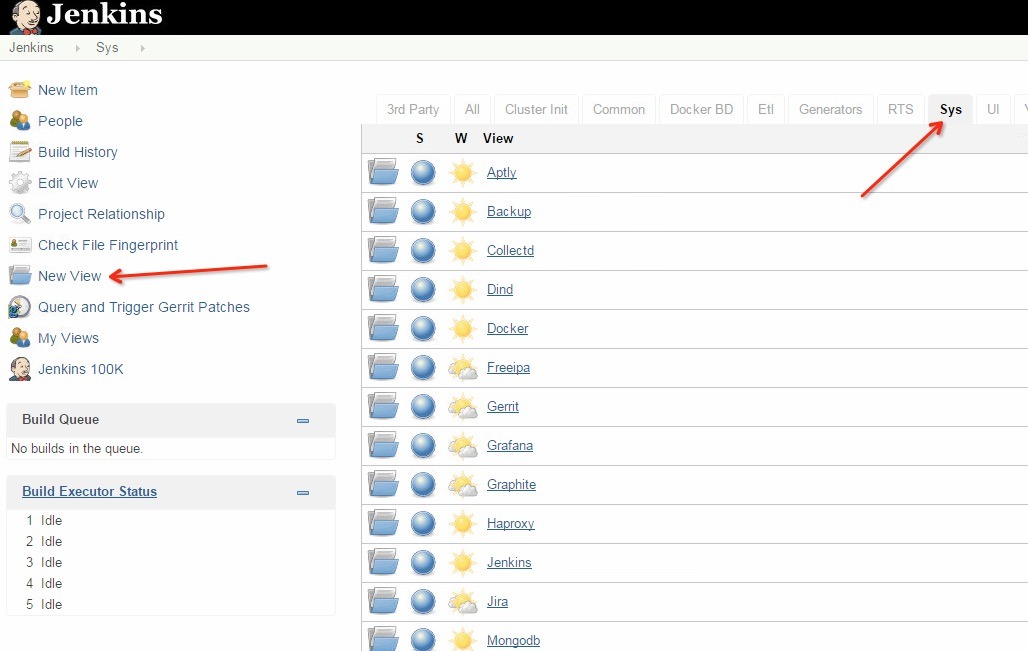
Login Jenkins web UI: https://jenkins.ja.example.cn
Create new view in ‘sys’ tab:

Change the options like this:

Then click the “RUN” icon to next step:

We can get option 1 and 2 in git server( in old screen)
- Option 1 comes from the latest version of git project
vpnproxycode you committed - Option 2 comes from the latest version of git project
devops/deploy - Option 3 is the domain name of host 10.129.0.29, it’s a real server, we will deploy our container on it
- Option 4 is the name of your application’s image
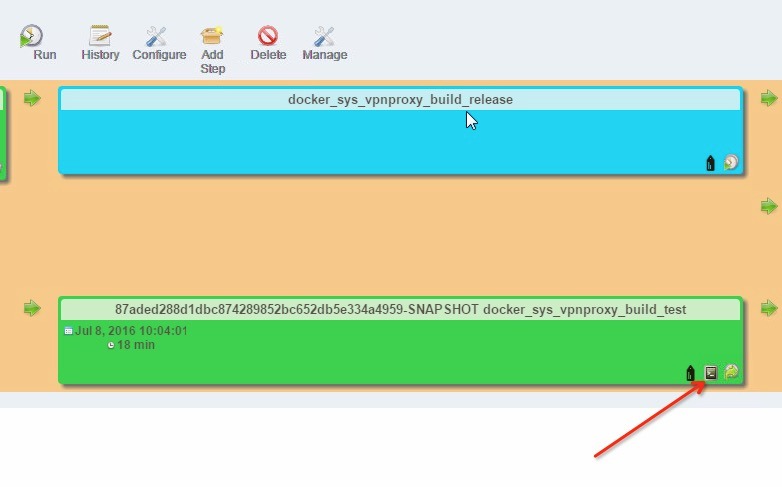
It taks almost 10 minutes to finish the building. In the meantime , you can see the detail of the building process from here:

That’s all.
